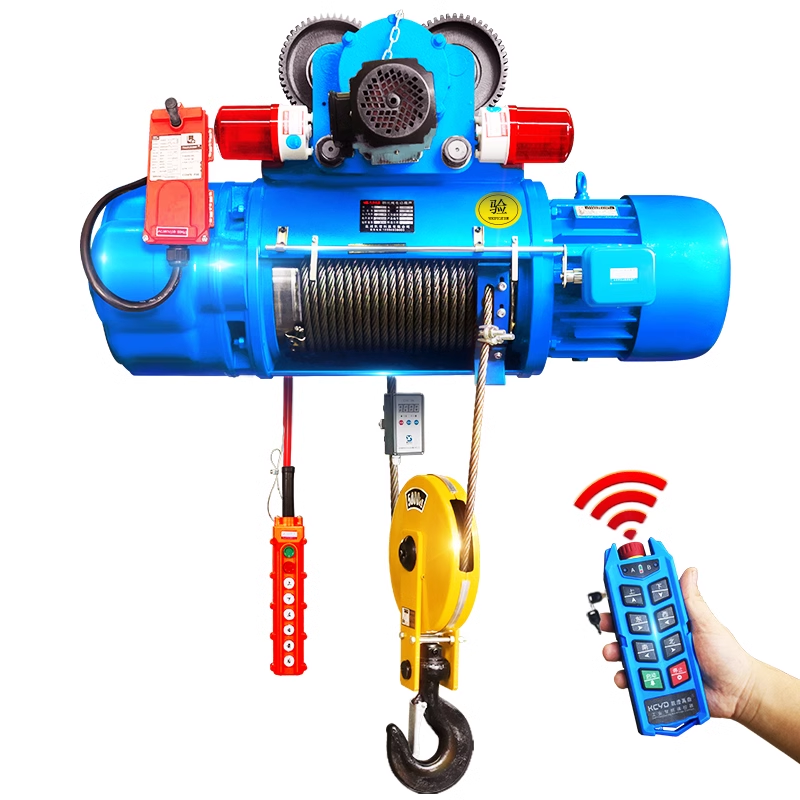
Electric Chain Hoist Chain Replacement Guide

Electric chain hoists are widely used lifting devices in industrial operations. The chain, as a core transmission component, may develop issues such as wear, deformation, or fracture after prolonged use. Timely chain replacement is critical to ensuring safe equipment operation. This guide outlines standardized replacement procedures and key precautions to assist operators in performing efficient and compliant maintenance.
Safety Protocols
1.Power Isolation: Always disconnect the hoist from the power supply and hang warning tags to prevent accidental activation.
2.Personal Protective Equipment (PPE): Wear cut-resistant gloves, safety goggles, and a hard hat to shield against chain debris or slippage injuries.
3.Load Verification: Ensure the hoist is completely unloaded, with the hook fully lowered to the ground to eliminate gravitational energy hazards.
4.Team Coordination: Perform tasks with two personnel—one as the primary operator, the other as a safety observer—to ensure procedural compliance.
Tools and Materials Preparation
1.Replacement chain of identical specifications: Must match the original chain model to ensure compatibility.
2.Wrench: For removing the sprocket end cover and securing bolts.
3.Snap ring pliers: Required to disassemble the snap rings connecting the chain links.
4.Lubricating grease: Apply after installation to reduce friction between components.
5.Cleaning cloth: Clean oil residue and debris from sprocket grooves to ensure smooth operation.
Chain Removal Procedure
1.Locate connecting points: Identify the chain’s end connecting links and observe their securing method (snap rings, pins, etc.).
2.Release terminal fixation:
Use snap ring pliers to remove retaining snap rings, or
Pry open the link pin with a flat-head screwdriver to separate the chain ends.
3.Extract the old chain:
Rotate the sprocket counterclockwise to gradually disengage the chain from the teeth.
If jammed, gently tap the chain with a wooden mallet to loosen it.
4.Post-removal cleaning and inspection:
Thoroughly clean sprocket teeth and chain guide grooves of debris.
Inspect sprocket for wear (e.g., hooked teeth, uneven grooves). Replace the sprocket if damage exceeds OEM tolerances.
New Chain Installation Procedure
1.Pre-lubrication treatment:
Immerse the new chain in lubricating oil (ISO 6743-9 compliant) for 5 minutes to ensure full penetration into chain articulations, minimizing initial wear-in abrasion.
2.Threading the chain:
Starting at the sprocket’s upper quadrant, align each roller with the sprocket tooth grooves (ASTM D4170 alignment standards).
Manually rotate the sprocket to guide the chain into proper seating within the guide track.
3.Closing the chain loop:
Use a master link (OEM-specified) to connect chain ends.
Ensure connecting pins are fully seated and securing snap rings are locked per ASME B30.21 safety requirements.
Commissioning and Testing
1.No-load Operation
After powering on, perform jogging (inching) operations to raise and lower the hoist.
Observe whether the chain runs smoothly without abnormal noise.
2.Load Verification
Gradually increase the load to 30%, 60%, and 100% of the rated capacity.
Test braking performance and chain load-bearing stability at each stage.
3.Re-inspection of Critical Points
Sprocket and chain engagement must be smooth with no skipping or misalignment.
All connection points (pins, snap rings, etc.) must be securely fastened without looseness.
Lubricating grease should be evenly distributed across all chain links.
Maintenance Recommendations
1.Regular Inspections
Conduct monthly inspections to measure chain wear and elongation.
Replace if wear exceeds 3% of original length.
2.Lubrication Schedule
Apply high-temperature chain oil every 50 operating hours .
3.Storage Requirements
Hang spare chains vertically—never stack horizontally to prevent deformation.
Store in a dry, low-humidity environment to avoid corrosion .
Proper chain replacement not only restores equipment performance but also prevents safety incidents caused by chain failure.
Note: This guide applies to standard electric chain hoists. For special configurations, always refer to the manufacturer’s manual.