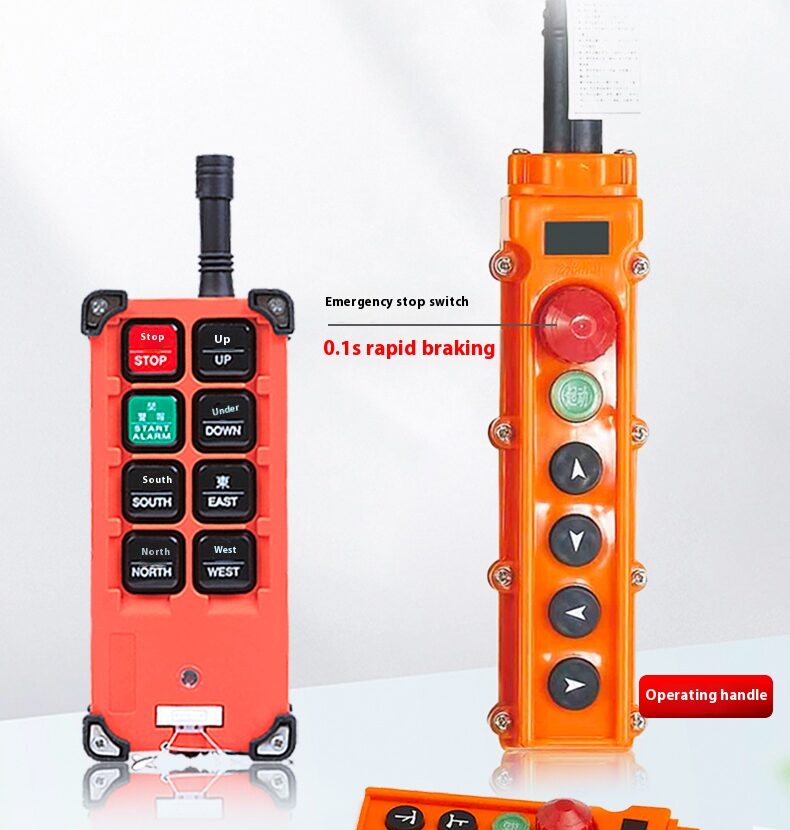
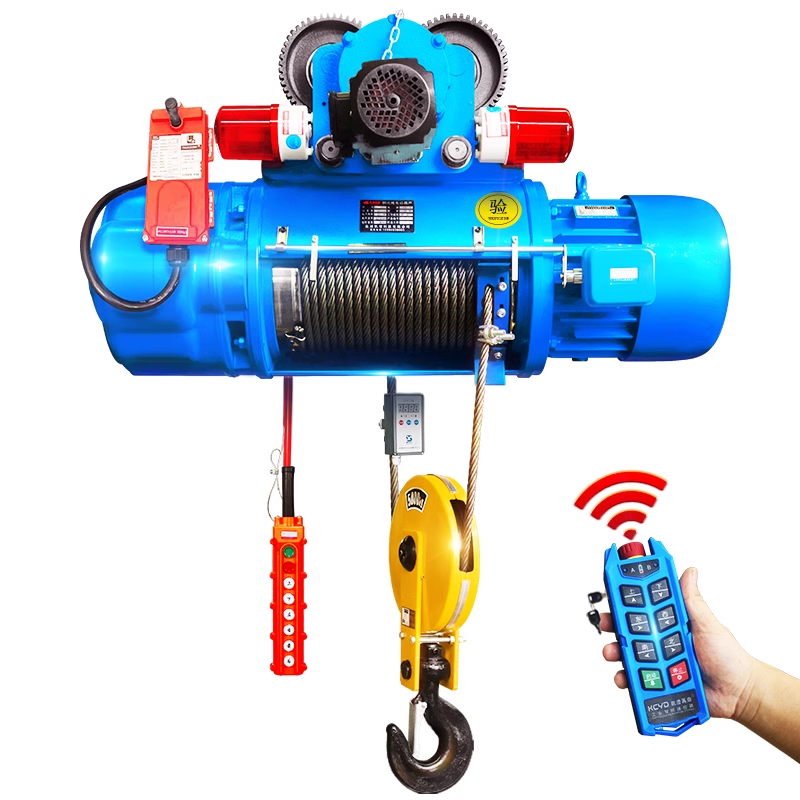
How to replace the pendant switch of a chain hoist with a remote control?

Chain hoists are typically equipped with pendant switches, but in some cases, operators may require the greater flexibility of remote control operation. Replacing the pendant switch with a wireless remote control can improve operational convenience, especially for overhead, long-distance, or hazardous work environments. This article provides a detailed guide on the replacement steps and key considerations.
Pre-Replacement Preparations
1.Before starting the replacement, ensure the chain hoist is powered off and isolated from the electrical supply to prevent accidental operation or electric shock.
2.Verify the Electrical Parameters of the Chain Hoist
Before replacement, confirm that the hoist’s voltage, current, and power ratings are compatible with the remote control system. The remote control must match the hoist’s control circuit to avoid overloading or equipment damage.
3.Selecting a Suitable Wireless Remote Control
There are various industrial remote controls available on the market. When choosing one, pay attention to the following:
Frequency: Common options include 315 MHz and 433 MHz—ensure compliance with local wireless regulations.
Control Channels: At minimum, the remote must support ”Up,” “Down,” and ”Stop” functions. Some models offer multi-speed control.
Protection Rating: Choose a remote with at least IP65 or higher for durability in industrial environments.
4.Tools and Materials Preparation
Gather the necessary tools and materials:
Screwdriver, wire strippers, multimeter
Insulation tape, heat shrink tubing
Remote receiver and compatible cables
Replacement Steps
1.Power Disconnection
Before proceeding, ensure the chain hoist is completely powered off and isolated from the electrical supply to prevent accidents.
2.Removing the Existing Pendant Switch
Locate the pendant switch junction box (typically mounted on the hoist motor).
Open the junction box and document the original wiring configuration for reference.
Use a multimeter to verify the wiring and avoid incorrect connections.
3.Installing the Wireless Remote Receiver
Mount the remote receiver in a secure, dust-proof, and water-resistant location.
Follow the receiver’s wiring instructions:
Connect the power supply lines to the hoist’s main power.
Match the control wires (up, down, stop, etc.) to the corresponding terminals from the original pendant switch.
Secure all connections with insulation tape or heat shrink tubing to prevent short circuits.
4.Testing the Remote Control Functionality
Restore power and test the remote control’s lifting/lowering functions to ensure proper operation.
Verify that the hoist runs smoothly without abnormal noise or delays.
Confirm that the emergency stop function works correctly.
Important Considerations
1.Safety First
Always disconnect power during replacement to prevent electric shock or equipment damage.
2.Electromagnetic Interference (EMI)
Keep the remote control away from strong electromagnetic fields to avoid signal disruption.
3.Regular Maintenance
Replace remote batteries periodically and inspect receiver wiring for looseness or wear.
4.Regulatory Compliance
Some regions have certification requirements for industrial remote controls—ensure compliance with local regulations.
Conclusion: Replacing the pendant switch of a chain hoist with a remote control enhances operational flexibility, making it suitable for various industrial scenarios. During the replacement process, special attention must be paid to electrical compatibility, safe operation, and signal stability. If you are unfamiliar with electrical wiring, it is recommended to consult a professional technician for the modification to ensure safety and proper equipment functioning.


